Phần 1: Android Bottom Navigation - Jetpack - Setup Có mặt từ Android Support Library v26 tương ứng với Android version 8 Tại Google IO 2018, GG giới thiệu Jetpack Navigation Trọng tâm bài viết
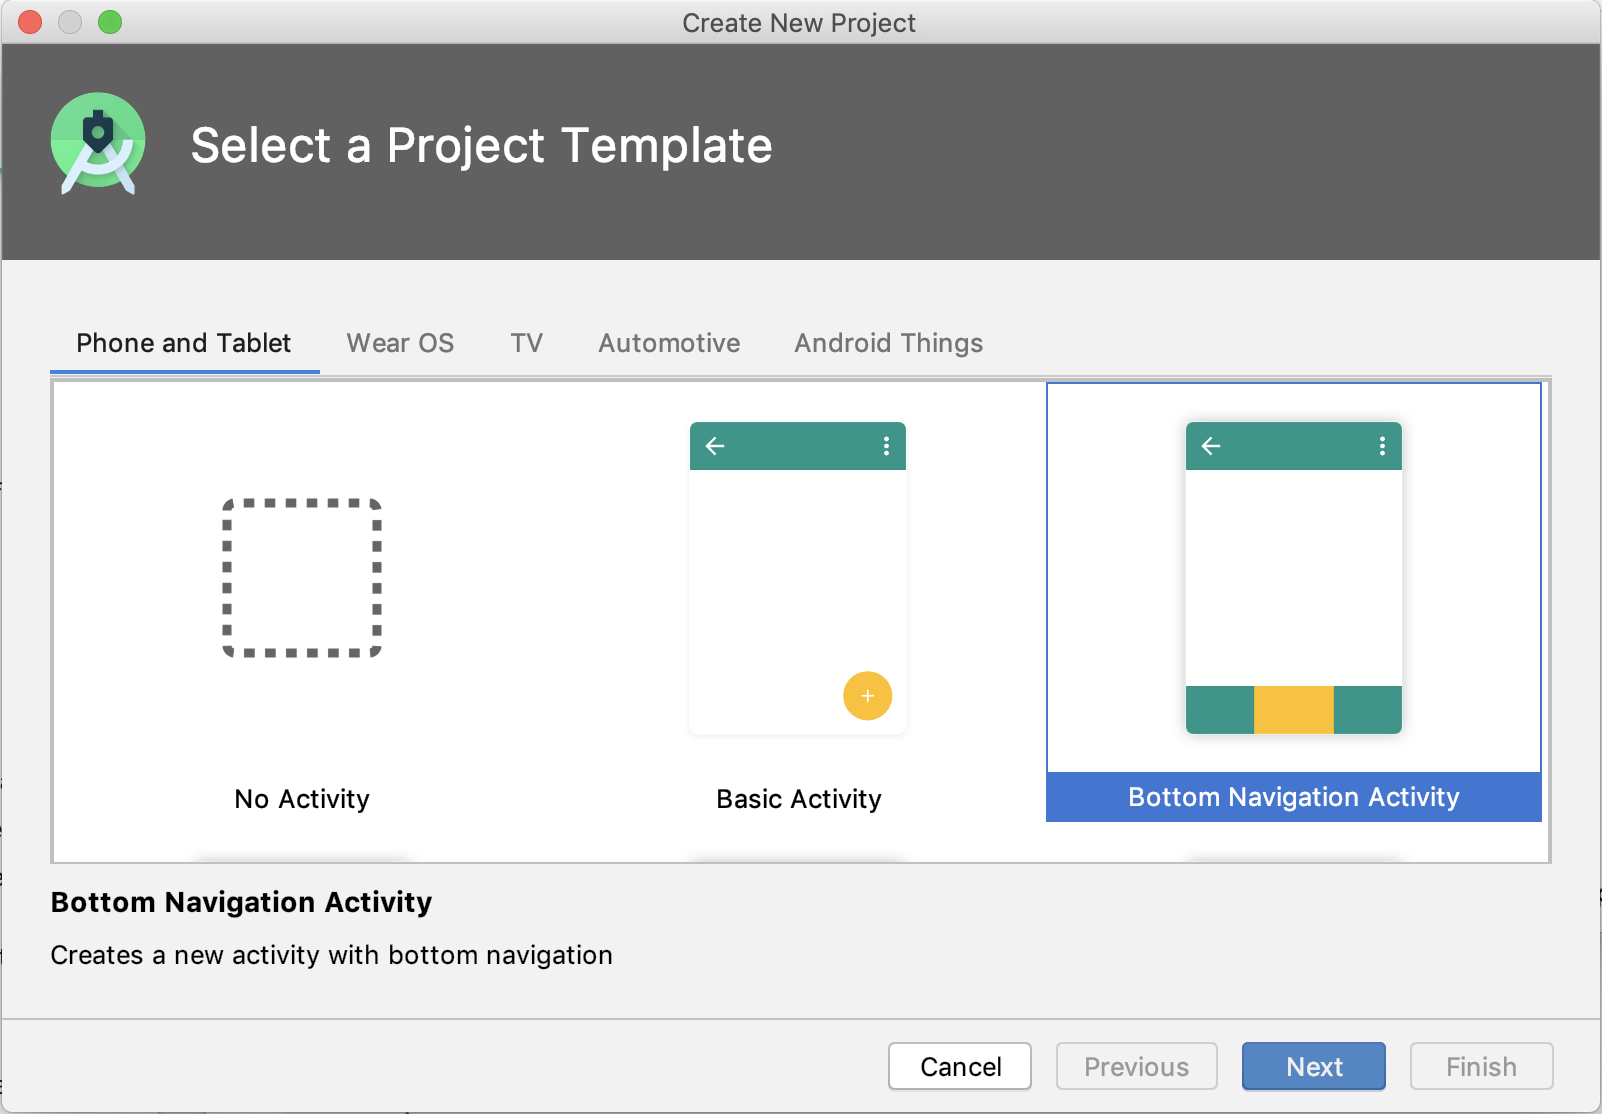
Sử dụng Jetpack Navigation UI Tích hợp với BottomNavigationView Cách 1: Sử dụng Template của Google Create New Project và chọn Bottom Navigation Activity . Hoàn toàn có thể dùng cách này cho nhanh
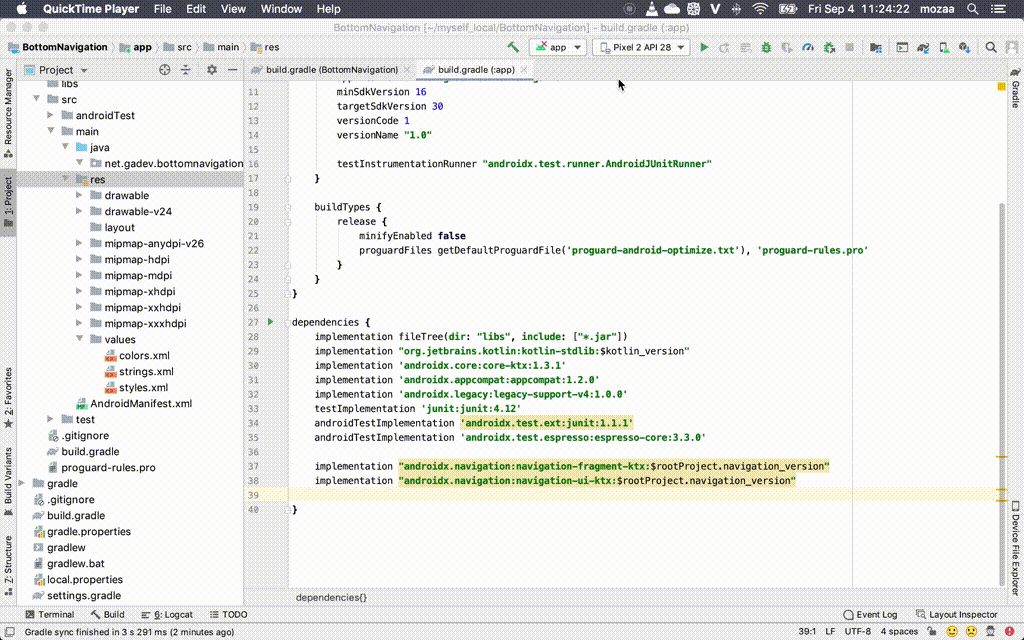
Cách 2: Cài đặt thủ công Thêm thư viện Jetpack navigation Level thư mục Project build.gradle:
1
2
3
4
buildscript { ext.kotlin_version = '1.4.0' ext.navigation_version = '2.1.0' ....
Level thư mục app build.gradle:
1
2
3
4
5
6
7
8
... kotlinOptions { jvmTarget = "1.8" } ... dependencies { implementation "androidx.navigation:navigation-fragment-ktx:$rootProject.navigation_version" implementation "androidx.navigation:navigation-ui-ktx:$rootProject.navigation_version"
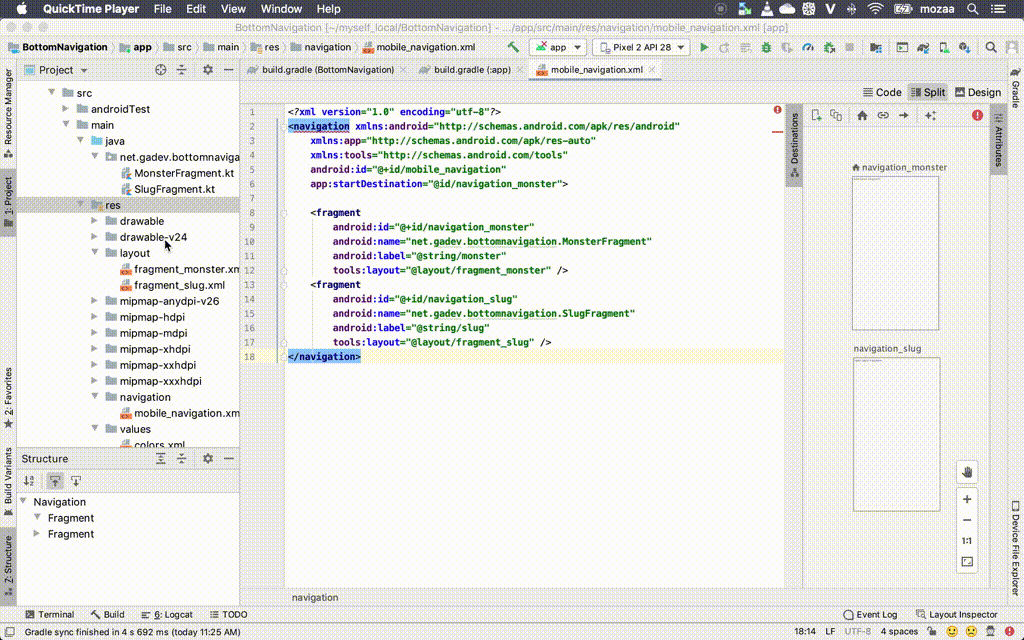
Tạo file Navigation Graph Đặt tên file mobile_navigation
Nội dung file
1
2
3
4
5
6
7
8
9
10
11
12
13
14
15
16
17
18
<?xml version="1.0" encoding="utf-8"?> <navigation xmlns:android ="http://schemas.android.com/apk/res/android" xmlns:app ="http://schemas.android.com/apk/res-auto" xmlns:tools ="http://schemas.android.com/tools" android:id ="@+id/mobile_navigation" app:startDestination ="@id/navigation_monster" > <fragment android:id ="@+id/navigation_monster" android:name ="net.gadev.bottomnavigation.MonsterFragment" android:label ="@string/monster" tools:layout ="@layout/fragment_monster" /> <fragment android:id ="@+id/navigation_slug" android:name ="net.gadev.bottomnavigation.SlugFragment" android:label ="@string/slug" tools:layout ="@layout/fragment_slug" /> </navigation >
Chú ý app:startDestination là điểm bắt đầu, ở đây màn hình hiển thị đầu tiên là Frgment với id navigation_monster
bottom_nav_menu.xml
Code giao diện MainActivity activity_main.xml
1 2 3 4 5 6 7 8 9 10 11 12 13 14 15 16 17 18 19 20 21 22 23 <fragment android:id ="@+id/nav_host_fragment" android:name ="androidx.navigation.fragment.NavHostFragment" android:layout_width ="0dp" android:layout_height ="0dp" app:defaultNavHost ="true" app:layout_constraintBottom_toTopOf ="@id/nav_view" app:layout_constraintLeft_toLeftOf ="parent" app:layout_constraintRight_toRightOf ="parent" app:layout_constraintTop_toTopOf ="parent" app:navGraph ="@navigation/mobile_navigation" /> <com.google.android.material.bottomnavigation.BottomNavigationView android:id ="@+id/nav_view" android:layout_width ="0dp" android:layout_height ="wrap_content" android:layout_marginStart ="0dp" android:layout_marginEnd ="0dp" android:background ="?android:attr/windowBackground" app:layout_constraintBottom_toBottomOf ="parent" app:layout_constraintLeft_toLeftOf ="parent" app:layout_constraintRight_toRightOf ="parent" app:menu ="@menu/bottom_nav_menu" />
Chú ý: 2 dòng khai báo để map dữ liệu
app:navGraph="@navigation/mobile_navigation" The app:navGraph attribute associates the NavHostFragment with a navigation graph. The navigation graph specifies all of the destinations in this NavHostFragment to which users can navigate.
app:menu ="@menu/bottom_nav_menu"
MainActivity
1 2 3 4 5 6 7 8 9 10 11 12 val navView: BottomNavigationView = findViewById(R.id.nav_view)val navController = findNavController(R.id.nav_host_fragment)val appBarConfiguration = AppBarConfiguration( setOf( R.id.navigation_monster, R.id.navigation_slug ) ) setupActionBarWithNavController(navController, appBarConfiguration) navView.setupWithNavController(navController)
Project phần 1 có thể tải về tại Github